在Vue中实现一个计时器有多种方法,这里提供一个简单的示例,使用Vue 2.x版本,使用JavaScript的`setInterval`函数来创建一个基本的计时器。
首先,确保你已经在你的项目中引入了Vue。你可以创建一个简单的计时器组件,如下所示:
```html 计时器 {{ time }}
export default { data { return { time: 0, timer: null, }; }, methods: { startTimer { this.timer = setInterval => { this.time ; }, 1000qwe2; }, stopTimer { clearInterval; }, }, beforeDestroy { this.stopTimer; }, created { this.startTimer; },};```
在这个组件中,我们定义了几个关键部分:
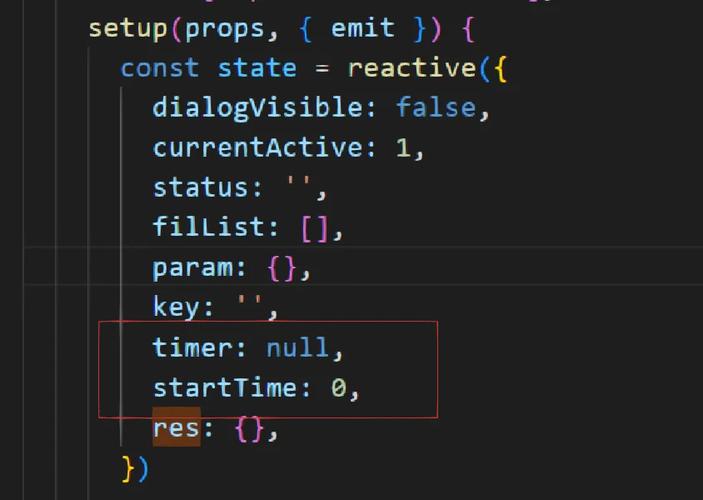
1. `data`:这里我们定义了`time`变量来存储经过的时间(以秒为单位),以及`timer`变量来存储计时器的引用。2. `methods`:我们定义了`startTimer`和`stopTimer`方法。`startTimer`方法使用`setInterval`来每秒增加`time`变量的值,而`stopTimer`方法使用`clearInterval`来停止计时器。3. `beforeDestroy`:在这个生命周期钩子中,我们调用`stopTimer`方法来确保在组件销毁时停止计时器。4. `created`:在这个生命周期钩子中,我们调用`startTimer`方法来启动计时器。
你可以将这个组件放入你的Vue应用中,并在需要的时候调用`startTimer`和`stopTimer`方法来控制计时器的开始和停止。
Vue计时器:实现与优化技巧
在Web开发中,计时器是一个常用的功能,它可以帮助我们实现倒计时、计时器、定时任务等。Vue.js作为一款流行的前端框架,提供了丰富的API和组件,使得实现计时器功能变得简单而高效。本文将详细介绍如何在Vue中实现计时器,并分享一些优化技巧。
Vue计时器的基本实现

1. 创建Vue组件
首先,我们需要创建一个Vue组件来封装计时器的逻辑。在Vue项目中,通常在`components`目录下创建一个新的Vue文件。
```html
{{ time }}
export default {
data() {
return {
time: '00:00:00',
timer: null,
};
},
methods: {
startTimer(duration) {
const timer = setInterval(() => {
const hours = Math.floor(duration / 3600);
const minutes = Math.floor((duration % 3600) / 60);
const seconds = duration % 60;
this.time = [hours, minutes, seconds]
.map((unit) => unit.toString().padStart(2, '0'))
.join(':');
duration--;
}, 1000);
this.timer = timer;
},
stopTimer() {
clearInterval(this.timer);
this.timer = null;
},
},
mounted() {
this.startTimer(3600); // 设置计时器为1小时
},
beforeDestroy() {
this.stopTimer();
},
2. 使用组件
在父组件中,我们可以通过`


